Connecting of a monitor in OpenWrt
Displaylink in OpenWrt
We will connect the monitor using of USB video adaptor displaylink. The current version of OpenWrt doesn’t include a complete support for displaylink, therefore there could be some difficulties on different stages which we try to get over.
Before starting I would like to provide you with a link which helped me. Perhaps in the next versions of OpenWrt it won’t be so actual, but at this moment after cloning the repository from here , we can get a lot of additional applications for OpenWrt. For adding of a new application to the OpenWrt let’s copy it to the directory OpenWrt/package and by next starting of make menuconfig it will be already included to the contents of package.
Ok, let’s start. I don’t know how I can state the information in an easily accessible form for all of you. I try to tell you the mile stones)).
Manipulations with video images in Linux are realized using the frame buffer. What that is, is well described in the documentation for the option CONFIG_FB in the kernel of Linux.
In order that the device displaylink can work with frame buffer we have to include the support of this option in the kernel (FB_UDL).
In order that we can see anything on the display we have to include the support of the virtual console in the kernel. What that is you can also read in HELP for the option CONFIG_VT. There also should be the console support on the virtual terminal and optionally the support of the capability of binding and unbinding console drivers.
We should also to specify that the console has to be connected to the frame buffer. And the console of the frame buffer has to be selected automatically by the main output device of the image.
Now let’s resume all this by using of the concrete kernel options. Lets’ execute the command «make kernel_menuconfig»
Device Drivers:
USB Support:
<*> Support for Host-side USB
Graphics support:
<*> Support for frame buffer devices:
<*> Enable firmware EDID
<*> Framebuffer foreign endianness support
<*> Enable Video Mode Handling Helpers
<*> Enable Tile Blitting Support
Staging drivers:
<*> Displaylink USB Framebuffer support
Character devices:
<*> Virtual terminal
<*> Enable character translations in console
<*> Support for console on virtual terminal
<*> Support for binding and unbinding console drivers
Graphics support:
Bootup logo:
<*> Standard 224-color Linux logo
Console display driver support:
<*> Framebuffer Console support
<*> Map the console to the primary display device
<*> Framebuffer Console Rotation
<*> Select compiled-in fonts
<*> VGA 8x16 font
Let’s build, upgrade firmware and start.
Let’s connect displaylink. In principle all we have already done should be enough and on the display there should be a heartening picture with a penguin:
But I have seen on my display the following message: «Out of range. Dvi digital. 53.5kHz/85Hz».
Let’s check the output dmesg:
|
usb 1-1.4.2: dlfb: allocated 4 65024 byte urbs usb 1-1.4.2: dlfb: Unable to get valid EDID from device/display usb 1-1.4.2: dlfb: set_par mode 800x600 usb 1-1.4.2: dlfb: open /dev/fb0 user=0 fb_info=c1e8bc00 count=1 usb 1-1.4.2: dlfb: set_par mode 800x600 Console: switching to colour frame buffer device 100x37 usb 1-1.4.2: dlfb: set_par mode 800x600 usb 1-1.4.2: dlfb: DisplayLink USB device /dev/fb0 attached. 800x600 resolution. Using 1875K framebuffer memory |
Now the course is clear to me. As far as I can understand the message «Unable to get valid EDID from device/display» says that the receiving of some data for adaptor configuration for correct operating mode of the display failed. And it set some mode by default.
Let’s set the mode by ourselves. For it there is the utility fbset. This utility is included into the busybox OpenWrt, but it cannot be used for its purpose because is it cut. Therefore let’s download the source fbset from the official web site and build it by ourselves. Please don’t forget that we should use a cross-compiler for building.
For starting of the command fbset we need the file fb.modes. You can download it from our web site.
So, let’s execute the command:
|
root@OpenWrt:/# /home/fbset -fb /dev/fb0 -db /etc/fb.modes 800x600-75 usb 1-1.4.2: dlfb: open /dev/fb0 user=1 fb_info=c1da3000 count=2 usb 1-1.4.2: dlfb: set_par mode 800x600 usb 1-1.4.2: dlfb: release /dev/fb0 user=1 count=1 |
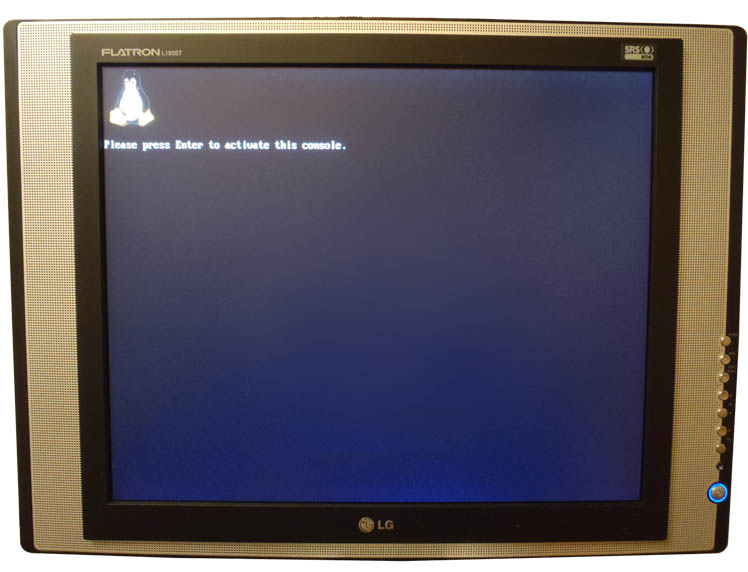
Considering that we have already connected the keyboard we press the button ENTER. It should appear the following image:

Outside is already 2011 year but this image has evoked a smile on my happy face anyway.
Let’s start familiar midnight commander.

Who would have thought that everything is so easy?
As P.S. we should always use the latest source versions )).
Let’s upgrade to the latest version. And the problem with the error «Out of range» disappeared. The output dmesg looks like this now:
|
usb 1-1.4.2: new full speed USB device using ohci_hcd and address 6 usb 1-1.4.2: not running at top speed; connect to a high speed hub udlfb: DisplayLink SUNWEIT USB Display - serial #500457 udlfb: vid_17e9&pid_024c&rev_0003 driver's dlfb_data struct at 81a5c800 udlfb: console enable=1 udlfb: fb_defio enable=1 udlfb: vendor descriptor length:e0 data:00 00 00 0000 00 00 00 00 00 00 udlfb: Unrecognized vendor firmware descriptor udlfb: allocated 4 65024 byte urbs udlfb: Unable to get valid EDID from device/display udlfb: 640x350 valid mode udlfb: 640x400 valid mode udlfb: 721x400 valid mode udlfb: 640x480 valid mode udlfb: 640x480 valid mode udlfb: 640x480 valid mode udlfb: 640x480 valid mode udlfb: 800x600 valid mode udlfb: 800x600 valid mode udlfb: 800x600 valid mode udlfb: 800x600 valid mode udlfb: 800x600 valid mode udlfb: 1024x768 valid mode udlfb: 1024x768 valid mode udlfb: 1024x768 valid mode udlfb: 1024x768 valid mode udlfb: 1024x768 valid mode udlfb: 1152x864 valid mode udlfb: 1280x960 valid mode udlfb: 1280x960 valid mode udlfb: 1280x1024 valid mode udlfb: 1280x1024 valid mode udlfb: 1280x1024 valid mode udlfb: 1600x1200 valid mode udlfb: 1600x1200 valid mode udlfb: 1600x1200 valid mode udlfb: 1600x1200 valid mode udlfb: 1600x1200 valid mode udlfb: 1792x1344 beyond chip capabilities udlfb: 1792x1344 beyond chip capabilities udlfb: 1856x1392 beyond chip capabilities udlfb: 1856x1392 beyond chip capabilities udlfb: 1920x1440 beyond chip capabilities udlfb: 1920x1440 beyond chip capabilities udlfb: Reallocating framebuffer. Addresses will change! udlfb: 800x600 valid mode udlfb: set_par mode 800x600 udlfb: open /dev/fb0 user=0 fb_info=80d93c00 count=1 udlfb: set_par mode 800x600 Console: switching to colour frame buffer device 100x37 udlfb: set_par mode 800x600 udlfb: DisplayLink USB device /dev/fb0 attached. 800x600 resolution. Using 1880K framebuffer memory |
Information content of the output has increased. But the problem with «Unable to get valid EDID» isn’t still solved. But it seems that the default configuration has been corrected which the adaptor gets in case of the not finding of EDID.
Also in the new version the console does not start automatically in a virtual console of frame buffer and we'll see a green screen on the monitor. Although we should begin this section with the description this fact.
The green screen on the monitor when connecting of displaylink means that the adapter has been correctly initialized and identified in the system. Realizing this we need to understand why the console has not been started.
Let’s check the following information.
Let’s check the presence of the device fb in the directory /dev:
|
root@OpenWrt:/# ls /dev/fb* /dev/fb0 |
Let’s check if the virtual console of the frame buffer has been created:
|
root@OpenWrt:/# ls /sys/class/vtconsole/vtcon* /sys/class/vtconsole/vtcon0: bind name subsystem uevent /sys/class/vtconsole/vtcon1: |
The console has been created. Let’s check that it belongs to the frame buffer:
|
root@OpenWrt:/# cat /sys/class/vtconsole/vtcon1/name (M) frame buffer device |
Let’s check that it is bound:
|
root@OpenWrt:/# cat /sys/class/vtconsole/vtcon1/bind 1 |
Here is everything OK. Then let’s open the text file with the driver description:/trunk/build_dir/linux-brcm47xx/linux-2.6.37/drivers/staging/udlfb/udlfb.txt.
The following lines make everything clear: «Allow fbcon to attach to udlfb provided framebuffers. This is disabled by default because fbcon will aggressively consume the first framebuffer it finds, which isn't usually what the user wants in the case of USB displays»
Let’s try to apply the solution which was suggested:
| root@OpenWrt:/# modprobe udlfb defio=1 console=1 |
As for me it didn’t help )). Perhaps because of the cut utility named modprobe. Therefore it could be easier to open the source file udlfb.c. And directly in it we can set the default values for these both variables:
/* module options */
static int console=1; /* Optionally allow fbcon to consume first framebuffer */
static int fb_defio=1; /* Optionally enable experimental fb_defio mmap support */
P.P.S.: the performance rate of the system is to be tested of course not with the program mc. After starting of mc the system hasn’t sensed it.
Buy an USB2VGA Displaylink adaptor from us:


